Create FS tests
How-To create FS testsYou can create an FS test if Inspera Assessment is integrated with the The Common Student System in Norway. Information such as the test name, subject code, test opening and close time, and candidates is imported from FS.
Step-By-Step Guide
When logged in to Inspera Assessment, you click "Deliver" in the top menu. To create an FS test, you click on "Create new test" and choose "FS" in the list:
1 Select FS test
The first step is to select the test to import from FS. For the test to become available in the list, the digital assessment system must be set to Inspera Assessment in FS. Select the test and click "Create test".
The test is created and information is imported from FS. Click /wiki/spaces/NO/pages/68386916 for a full list (in Norwegain) of the information imported.
At the top of the test page, the following is displayed to indicate that the test is synchronized with FS:
That the test was last synced eg. 30 minutes ago means that the test information from FS was updated in Inspera Assessment 30 minutes ago. If some details around the test has changed since the test was synced (eg. the test start time has changed) and FS is updated with the new information, the information will be synced automatically or by clicking "Update now" to update the synchronization and thus the information in Inspera Assessment.
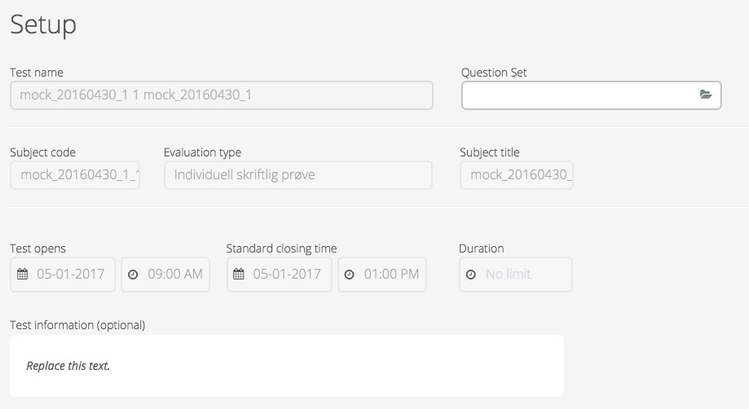
2 Setup
A lot of the information required to set up the test is imported from FS, the fields for which are greyed out and cannot be edited in Inspera Assessment (to update this information, update the information in FS and synchronize the test).
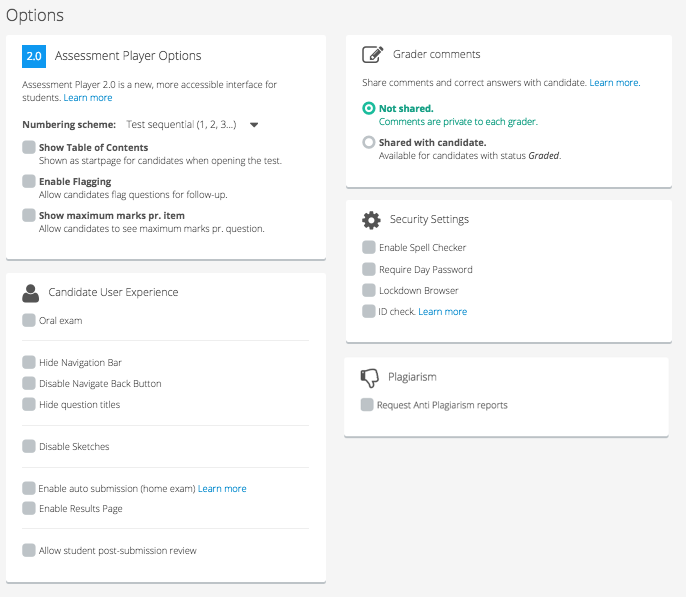
In addition to selecting a question set for the candidates to answer, decide the settings on candidate user experience, Sharing grader comments with candidates, the security settings and plagiarism report.
Options
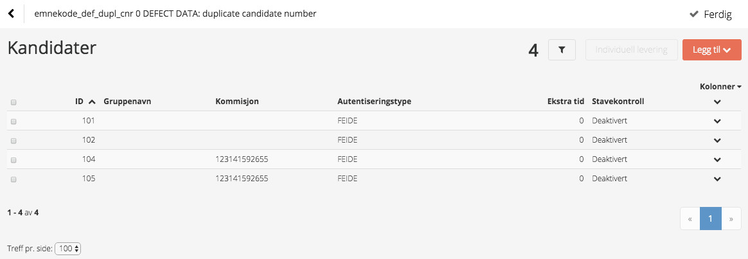
3 Assign candidates
Click "Manage" to assign candidates to the test:
The candidates are imported automatically from FS. Planned extra time assigned to candidates in FS is also imported from FS. Whether the spell checker should be available to all candidates on the test is decided in the previous step. Here, the spell checker can be enabled for certain candidates.
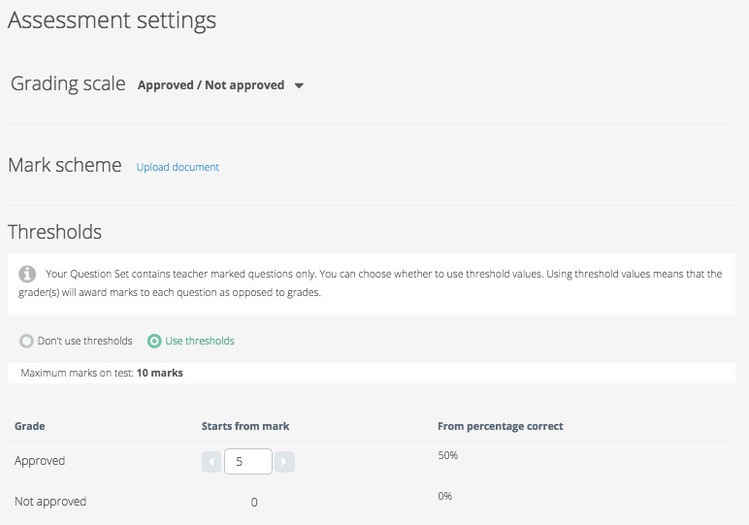
4 Assessment settings
Choose the grading scale to be used. If the question set contains one or more automatically evaluated questions, threshold values must be used. If there are only manually evaluated questions, you can choose whether or not to use threshold values. Note, if the graders are to assign marks to each question as opposed to grades, threshold values must be used. Under assessment settings one can also upload a mark scheme.
5 Confirm
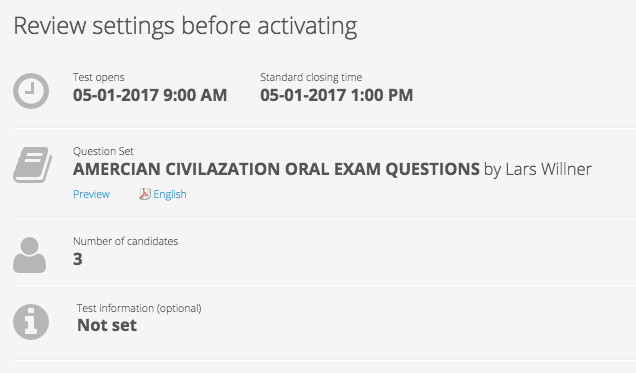
The next step is to review some of the main settings. The settings for the test are listed like this:
6 Activate test
When you are happy with the settings, you click on the "Activate test" button in the bottom right corner:
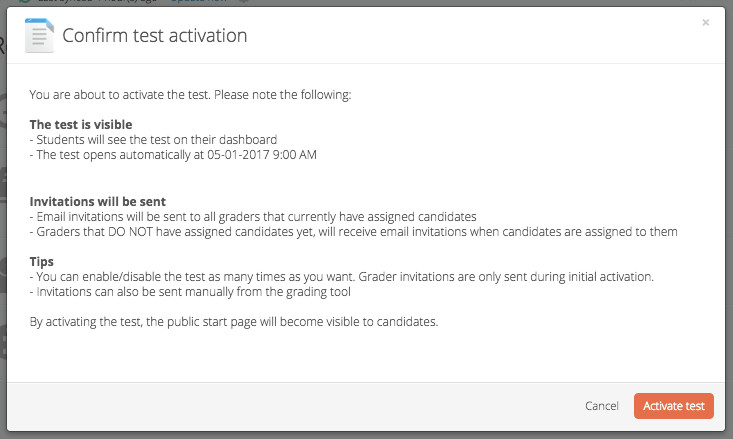
You then get a confirmation text. Read it carefully and click the "Activate test" button in the bottom right corner:
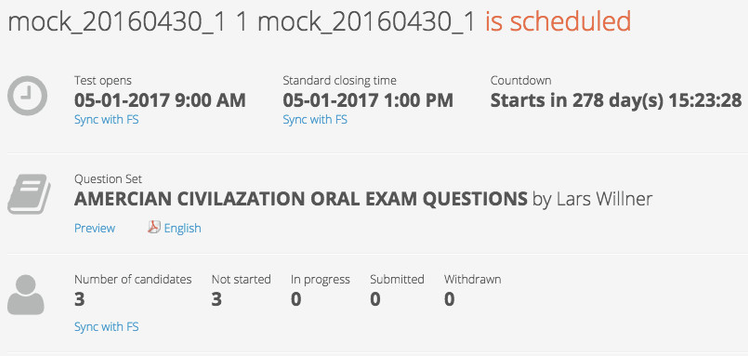
You will then get a confirmation, the test is now active with the status scheduled:
Click here to learn how to manage an active test.
7 Add contributors
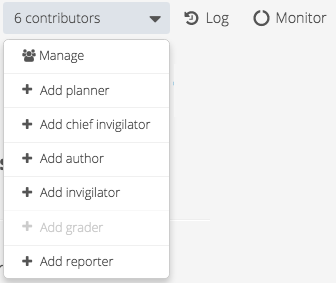
Contributors can be added to the test at any of the above stages. In the top right corner is a dropdown menu from which contributors with different roles can be added. Note, graders are added to the test in FS and are imported via the FS synchronization. Graders can thus not be added nor removed in Inspera Assessment. Read more about managing contributors here.


