Create regular (Inspera Assessment) tests
How-To create regular tests.You create a regular test if you do not have integration with a student administrative system. All data about the test will then be created in Inspera Assessment, and not imported.
Step-By-Step Guide
1 - Select Inspera Assessment test
When logged in to Inspera Assessment, click Deliver in the top menu. To create a regular, Inspera Assessment test, you click Create new test and choose Inspera Assessment from the list:
2 - Setup
The first step is to do the Setup. You set a name for your test and choose a question set for the candidates to answer:
Under Setup you also decide the time settings and you can add test information.
Manage candidates
The next step is to deside how to assign candidates. There are two options,
- Add candidates to test
- Invite candidates by sharing Test Code
Click Manage and the candidate list opens in a new window.
Click Add and select the candidate type to be added:
After the candidates are added, choose between individual or group submission. Individual is set as default and requires no further action.
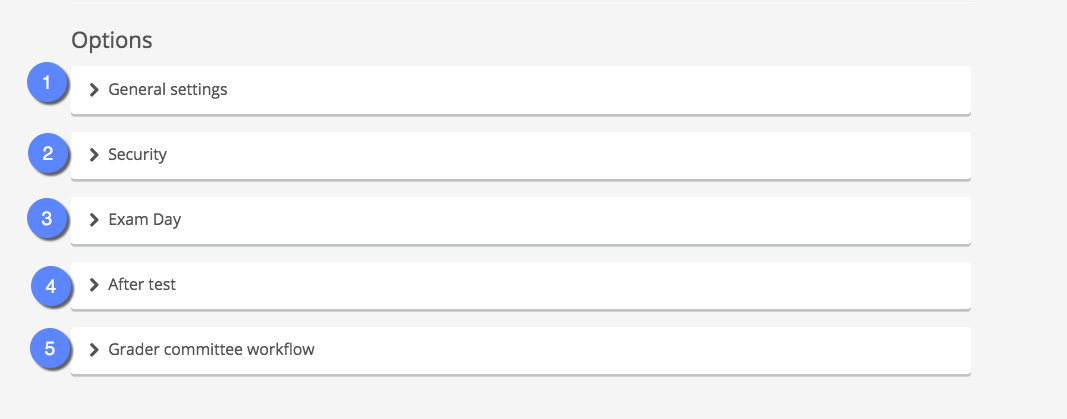
Options
General settings
- Oral exam
- Enable auto submission (home exam)
- If candidates are invited by sharing Test Code - the option of anonymous/non-anonymous will appear. Use non-anonymous.
Security
- Require Lockdown browser
- Anti plagiaraisme report
- ID-check
- Require Day Password
3 - Assessment settings
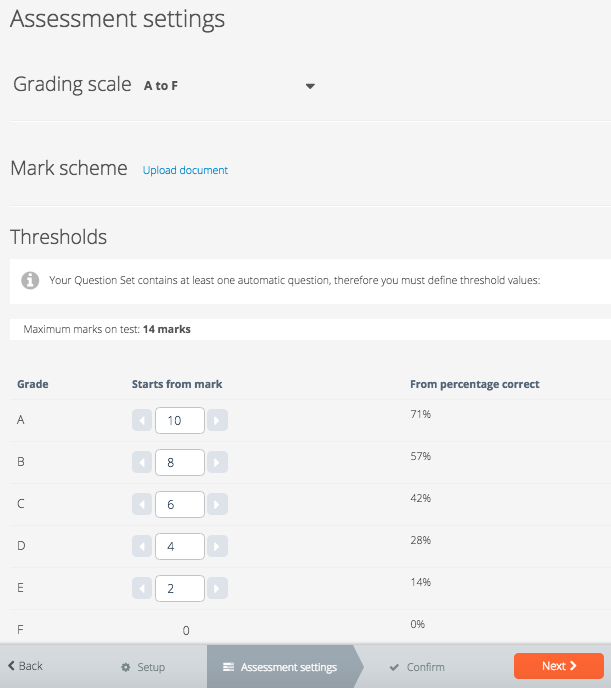
The next step is to set the assessment settings. Click Assessment settings or Next at the bottom of the page.
Select the grading scale to be used. You can also upload a mark scheme. Threshold values must be used if the question set contains one or more automatically marked questions. If the question set contains only manually marked questions, this is optional. Note that using threshold values means that the graders will set a score (points) per question, as opposed to grades.
4 - Confirm
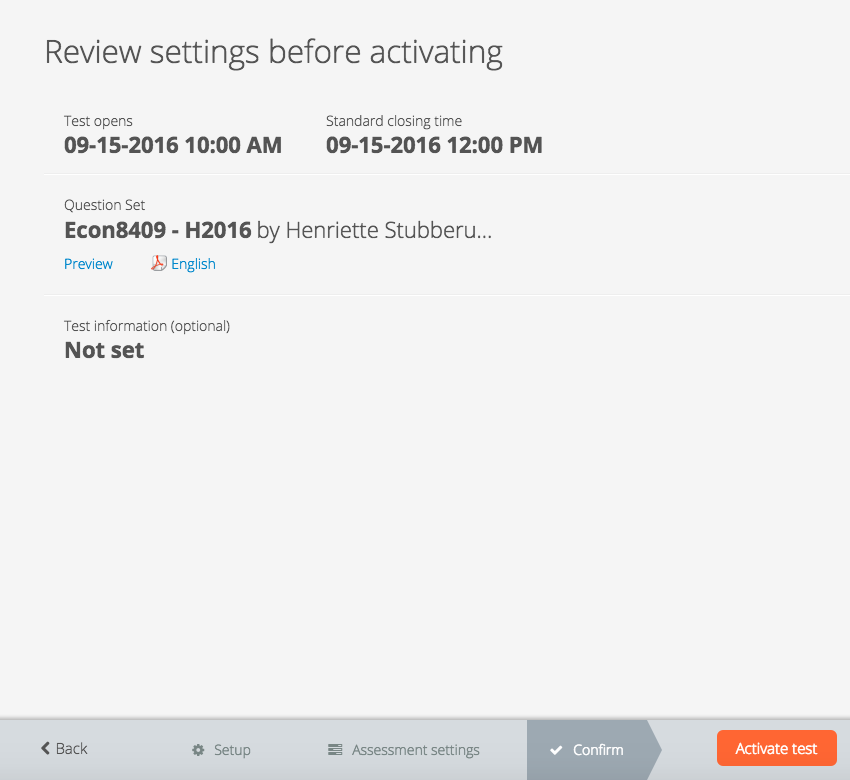
When you are happy with the setup and chosen assessment settings, click Next or Confirm to review.
The settings for the test are listed like this:
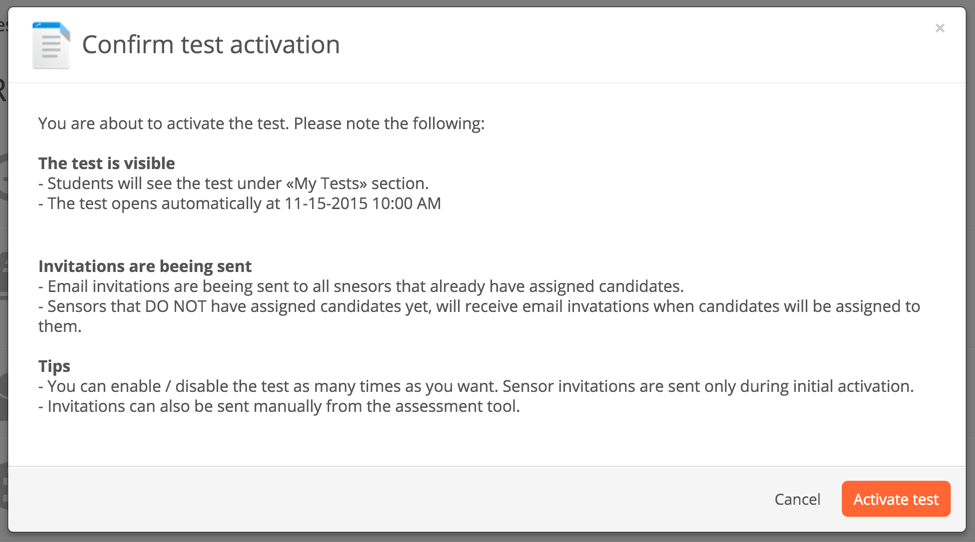
You then get a confirmation text. Read it carefully and click the Activate test button in the bottom right corner:
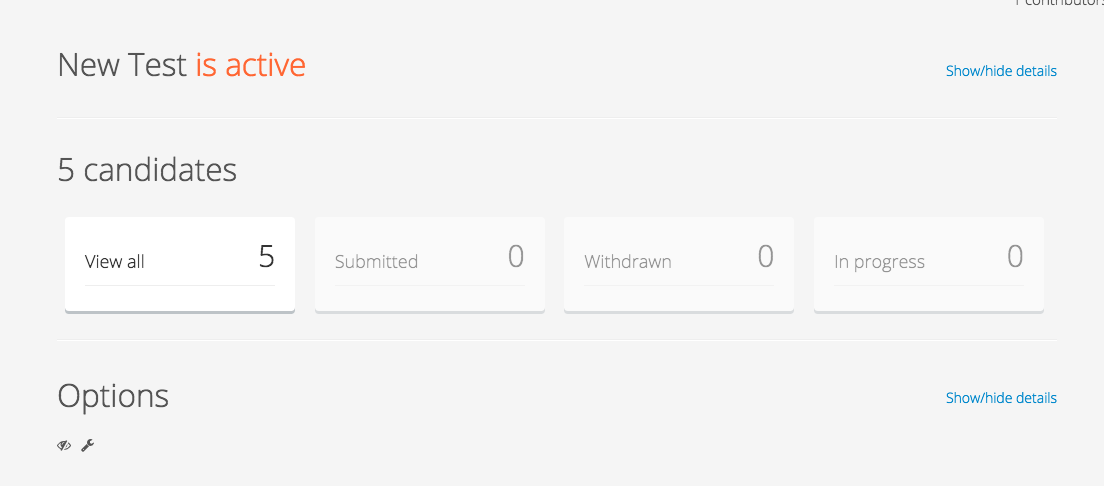
You will then get a confirmation, the test is now active:
5 - Add contributors
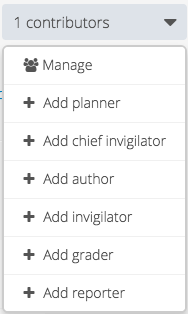
Contributors can be added to the test at any of the above stages. In the top right corner, click Contributors and a drop down menu is displayed. Select the role you want to add. Learn more about managing contributors.


