Create Demo tests
How-To create demo tests.
A demo test will be available to all students from the Demo tab on the student dashboard. The purpose is for the students to familiarize themselves with the system prior to the exam. They can take the demo test as many times as they want, the results are not stored.
To crete a demo test you must have extended access
Step-By-Step Guide
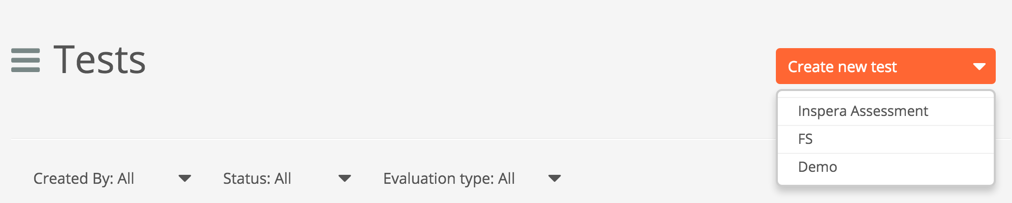
When logged in to Inspera Assessment, you click "Deliver" in the top menu. To create a demo test, you click on "Create new test" and choose "Demo" in the list:
1 Setup
The first step is to do the Setup. You set a name for your test and choose a question set:

You also set the time settings, the test information, the candidate user experience and the security settings. If the purpose is for the students to prepare for a BYOD exam with SEB, choose to use lockdown browser and the students will have to install SEB to take the demo test. Note, they will need the settings password to access the test.
2 Assign candidates
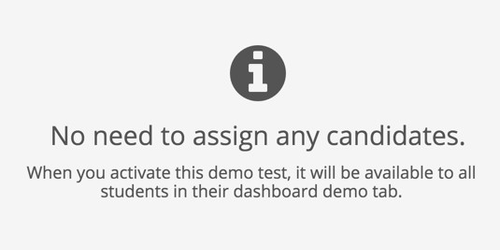
You don't need to assign candidates to the Demo tests:
3 Assessment settings
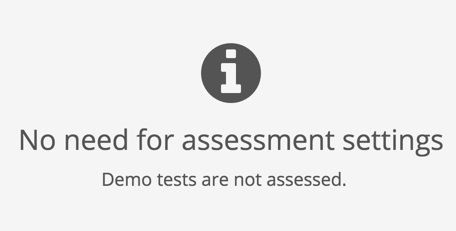
There is no need for assessment settings for the Demo tests:
4 Confirm
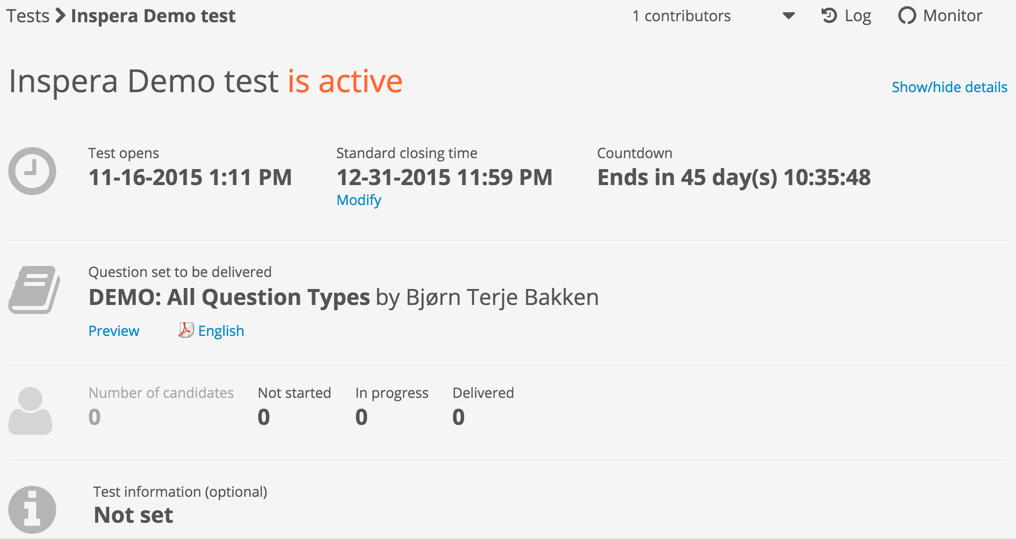
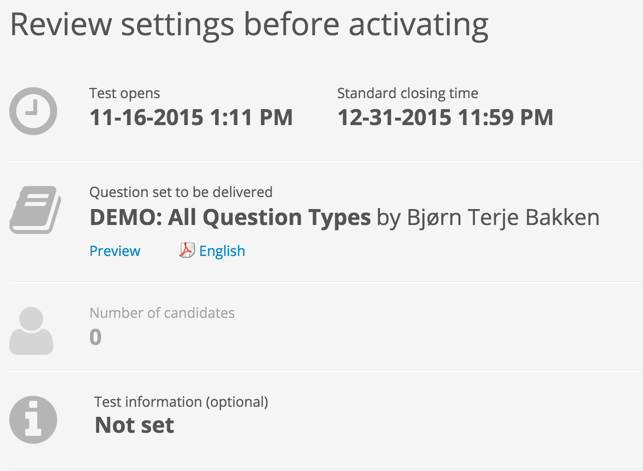
The last step is to confirm the test. The settings for the test are listed like this:
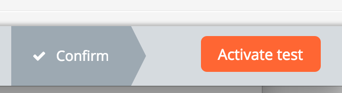
When you are happy with the settings, you click on the "Activate test" button in the bottom right corner:
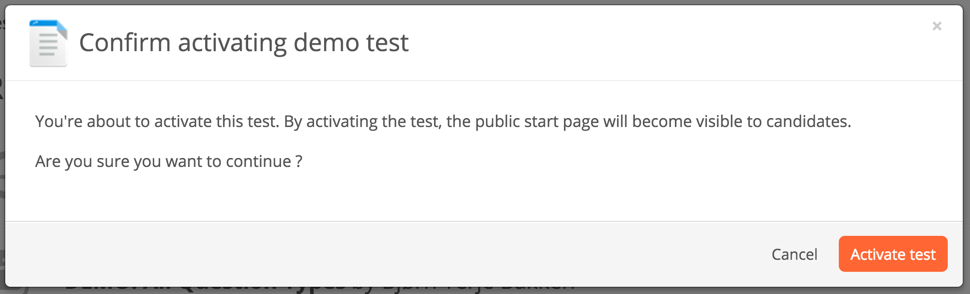
You then get a confirmation text. Read it carefully and click the "Activate test" button in the bottom right corner:
You will then get a confirmation, the test is now active: